How To Use GitHub For Project Collaboration — Based on Agile Method

Ayu is a tech blogger, open source contributor & maintainer, and tech community enthusiast based in the Netherlands. She loves photography and iced coffee!
Hello, Fellow CodeNewbies 👋,
A few months ago, I had a great experience participating in a project collaboration program with The Collab Lab. I can't thank The Collab Lab enough for giving me the opportunity and experience to learn how to collaborate with other developers 💖.
Based on that experience, I want to share with you what I learned.
So, in this article, I will walk you through how to use GitHub for project collaboration based on the Agile method.
Without further ado, let's start! 😄
Setup the collaboration environment on GitHub
1. Create a repo for the collaboration
One of the collaborators will create a repo on their GitHub. It will be the repo for all collaborators to push their changes. This remote repo is what we call the origin repo.
On the GitHub homepage, click on the "New" green button at the left bar.
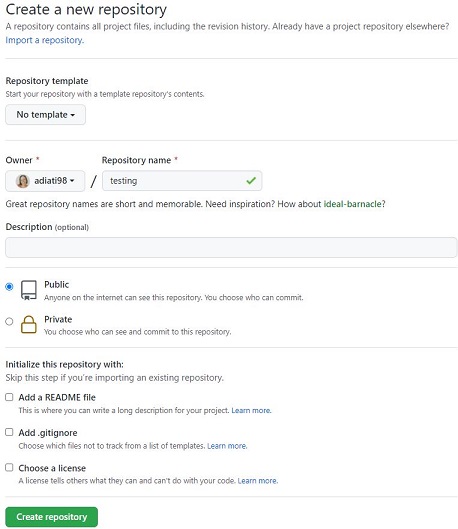
It will navigate you to the "Create a new repository" page.
Fill out the form and click the "Create repository" button.
Copy and paste one of the options on the command line and click enter.
If you haven't set up the local repo, follow the
…or create a new repository on the command line.
Replace thefirst commitcommit message with your own.If you already set up a local repo, follow the
…or push an existing repository from the command line.
Click the "Code" tab.
The initial files and folders are now available on theoriginrepo.
2. Add collaborators
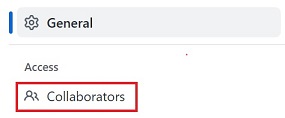
On the GitHub repo, go to the "Settings" tab.
At the left bar, click on "Collaborators".
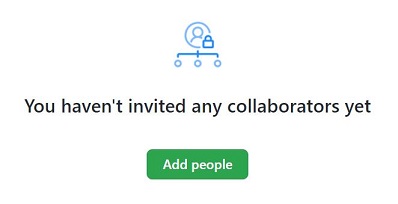
Click the "Add people" button.
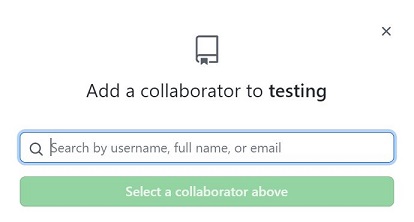
Enter the collaborator's GitHub username, full name, or email they use for GitHub, then click the "Add to this repository" button.
You can see the collaborators in the "Contributors" list at the right bar on the repo's homepage.

3. Create issues
Whether you do a solo project or a team project, breaking the tasks into small chunks is good practice.
Put these small chunks as issues on GitHub.
Go to the "Issues" tab on the repo homepage.
Click the "New issue" button.

Add the title and the description.
Add the assignees if you have decided who will handle the issue.
You can find this in the right bar.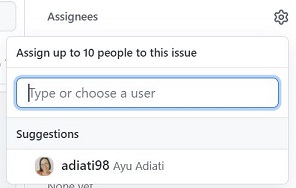
💡 Tips to write issues for adding a new feature to the project
- Write a clear and straightforward title as a user story.
# As a user, I want to be able to add a new task to my to-do list
- Include Acceptance Criteria (AC).
Acceptance criteria are the predefined requirements that must be met, taking all possible scenarios into account, to consider a user story to be finished.
— KnowledgeHut
## Acceptance Criteria
- User is presented with a form to enter their new task.
- When the user submits the form, the task will be saved to the database.
4. Create project boards
⚠️ GitHub has had new updates for the projects board. And I have updated this section in my article, "Planning And Tracking Projects With GitHub's Projects Tool".
Depending on your team, you can opt-in to have a project board as a tool to track your team's progress. In the Agile environment, it's common to use Kanban boards to see the state of the team's progress.
Navigate to the "Projects" tab.
Select the "Projects" — I'm using the non-beta one — and click the "New projects" button.

Add the name of the project.
Select the project template you find suitable for your team.
For this example, I am using the "Basic kanban". This option creates the "To do", "In progress", and "Done" columns.
Click the "Create Project" button.

Now you can add the cards and, if necessary, some more columns.
❓ How to add the cards and columns
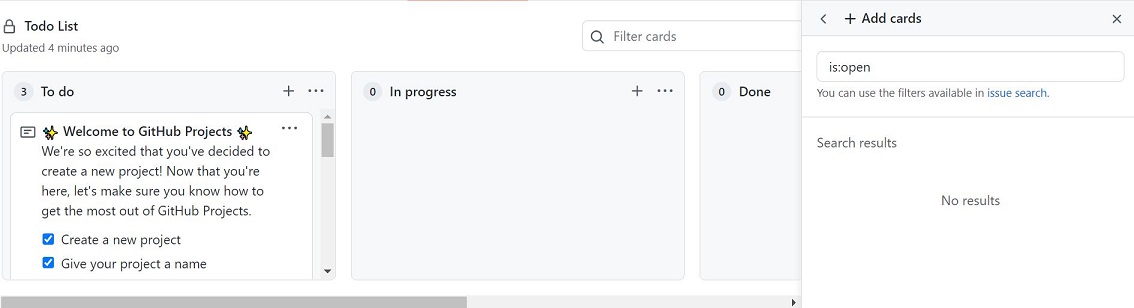
- When you have issues available and want to add them in one of the columns.
Click on the "Add cards" tab on the right side, next to the filter bar.

Search for the issues.
If you're not sure of the name of the issue, you can typetype:issue. It will give you a list of the issues in the repo.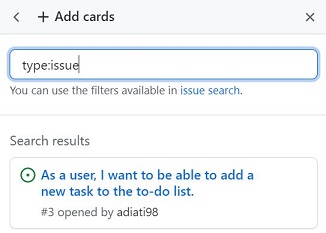
Drag and drop the issue to the target column.
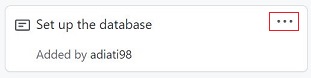
- When you want to add a note in one of the columns.
Click on the "+" sign on the target column.

Enter your note and click the "Add" button.
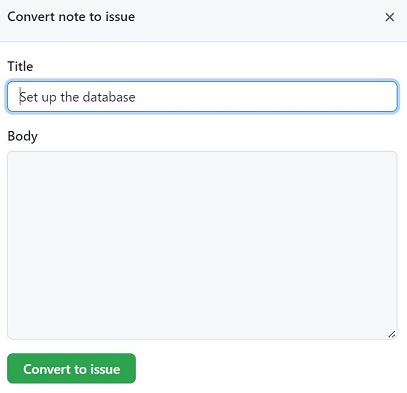
You can also change your note into an issue:
Click the three dots symbol on your note's card.
Select "Convert to issue".
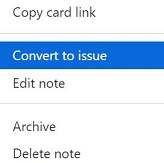
Write the title and the description of the issue. Then submit it by clicking the "Convert to issue" button.
- You can add more columns if you need. For example, if you want a column for "Ready to review" or "Ready to merge", etc.
Click "Add column" on the right side of the page.
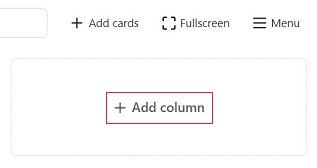
Enter the column name and click the "Create column" button.
Drag and drop the column to re-order.
You can start to use the board by dragging and dropping the cards between columns.
Start collaborating with Git and GitHub
Now that you have set up the collaboration environment, it's time to start the project!
There would be times when you are working on an issue by yourself.
But there would also be times you tackle the same issue with others.
1. Create a working branch
When collaborating, it's always a good practice to create a new branch for you to work on your issue.
Creating a new branch will prevent you from pushing your changes directly into the main branch.
You might first want to be at the local main branch. Then create a new branch by running this command:
git checkout -b branch-name
Now you can start to work on your issue.
2. Pull the working branch
When you're working on the same issue with other collaborators, one of the collaborators creates a branch and pushes this branch to the origin repo.
Then the other collaborators will fetch the origin repo, pull, and navigate to this branch by running:
# fetch the origin repo
git fetch

# pull the working branch
git pull origin branch-name

# navigate to the branch
git checkout branch-name
This process will let you and your teammates work on the issue in the same branch.
3. Push the working branch to the origin repo
You have finished working on the issue and are ready to push your branch.
Run this command to stage your changes for commit.
git add .Commit your changes.
Change the commit message to your message.git commit -m "Your commit message"Make sure your local repo is in the same state as the
originto assure that you are pushing the most updated changes.- Navigate to your local
mainbranch by running this command:
- Navigate to your local
git checkout main
- Pull the
mainbranch from theoriginrepo to the localmainbranch.
git pull
If there is no update on the main branch, you can proceed to push your changes.
But when there are changes:
- Navigate to your working branch.
git checkout branch-name
- Merge the local
mainbranch into your working branch.
git merge branch-name main
Push your branch to the
originrepo.git push origin branch-name
➡ Add Co-authored-by: to commit message
When you're working on the same issue with others, you want to include them in your commit message. This way, all collaborators will commit together.

Below is how you want to write your commit message:
git commit -m "Add a component for adding task
>
>
> Co-authored-by: Jane Doe <jane@email.com>
> Co-authored-by: John <john@email.com>"
💡 Important to know
Exclude the person who commits and pushes the branch from the "Co-authored-by:". Only collaborators other than this person get included with "Co-authored-by:" in the commit message.
Commit messages are case-sensitive. So you need to make sure of these things:
Do not close the commit message with double-quotes (") before you add the "Co-authored-by:".
Always give two empty spaces before writing the line "Co-authored-by".
Make sure that there is no typo.
It should beCo-authored-by:, with a capital C at the beginning and a colon (:) at the end.
Sometimes, you could make a typo on the word "authored". So you want to make sure to check it as well.Ensure that the emails are associated with the collaborators' GitHub accounts.
Close the commit message with double-quotes (") after the last line of "Co-authored-by:".
You can read more about creating a commit with multiple authors here.
4. Create a pull request and merge
Now that you've pushed your branch to the repo, you can start to create a pull request.
Refresh the
originrepo page on GitHub, then click the "Compare & pull request" button.
Enter the title and the description of the pull request. And then, click the "Create pull request" button.
If there is a conflict, you need first to resolve it, then push it back to the origin repo.
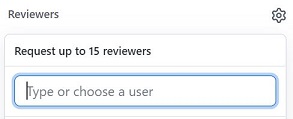
If you want your teammates to review your code, add them to the "Reviewers" on the right side of the page.
You can still add more commits to the pull request branch if you have more changes in this state.
After your teammate reviewed your pull request:
Make changes in the branch of your local repo if you need to.
Then add, commit, and push them to your branch on theoriginrepo by running these commands:git add . git commit -m "Your commit message" git push origin branch-name ```When they approve your changes, click the "Merge pull request" button.
You may want to delete the working branch on the
originrepo. You can do so by clicking the "Delete branch" button.You can always restore them by clicking the "Restore branch" button in your pull request.

❓ How to resolve conflicts

It's common to encounter git conflicts in collaboration.
Conflicts usually occur when changes are on the same line(s), in the same file(s), from 2 different branches.
You will get notified about the conflicts when you create a pull request.
So, what should we do to resolve the conflicts?
You can do it directly on GitHub by clicking the "Resolve conflict" button.
However, the best way is to resolve it in your local environment by synchronizing the origin with the local repository.
Navigate to your local
mainbranch.Pull the latest state of the remote
mainbranch to your localmainbranch by running this command:
git pull
- Go to your working branch.
git checkout branch-name
- Merge your
mainbranch into the working branch.
git merge branch-name main
Fix the conflict.
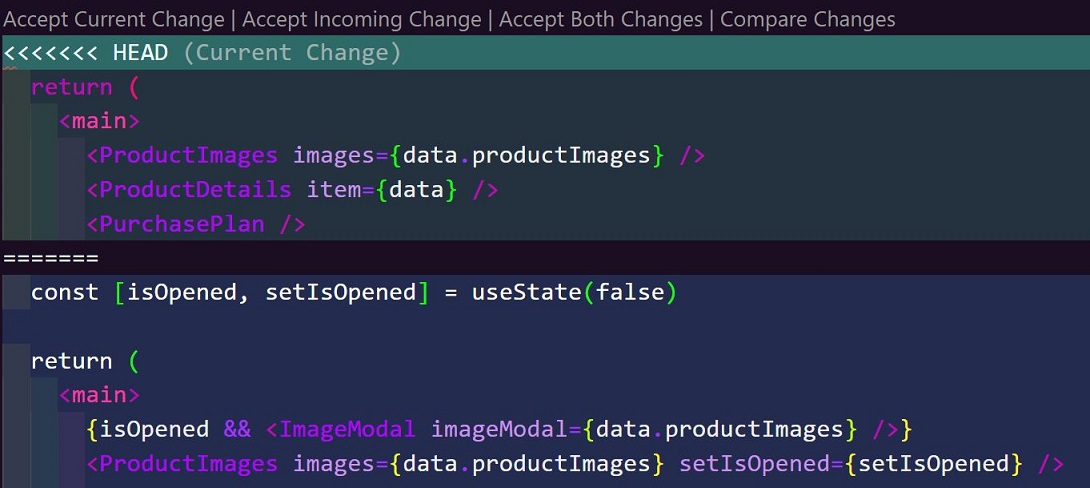
Select one of the options:
Accept Current Change — when you only want to keep your change.
Accept Incoming Change — when you only want to keep the incoming change.
Accept Both Changes — when you want to keep both your and the incoming changes.
Afterward, you can fix and adjust the codes manually if necessary.
Stage the changes with
git add .Commit the changes.
Don't forget to change the commit message example to your message.git commit -m "Merge the main branch into branch-name and resolve conflicts"Push the changes to the
originrepo.git push origin branch-name
❓ How to write a pull request on GitHub (with examples in markdown)
Write a clear, descriptive title.
# Create an AddTodo component with some functionalities to add tasks to the listInclude the link to the issue.
  ## Link Issue
  Closes #123
An issue will automatically close whenever the pull request merges by adding the word "Closes" before the link to the issue.
Include a clear description.
Write down the changes that you made in this section.## Description - Created an "AddTodo" component. - Added a form and the functionality to add tasks to the database.Mention the type of changes.
Is the type of changes adding a new feature, fixing a bug, or others?## Type of Changes ⭐ New featureInclude screenshots, if any.
Include the steps to test the changes.
  ## Testing Steps
  - Run `npm start`.
  - After the page renders, navigate to the add task page by clicking the link on the homepage.
  - Enter a task.
  - Click submit button.
  - Go to the database. The submitted task should now be available and stored in the database.
And that's it! 🙌
I hope you have a nice collaboration! 😄
Thank you for reading!
Last, you can find me on Twitter. Let's connect! 😊